


Description
Wind deflector repair net, can be used to repair or replace broken net on your original wind deflector…
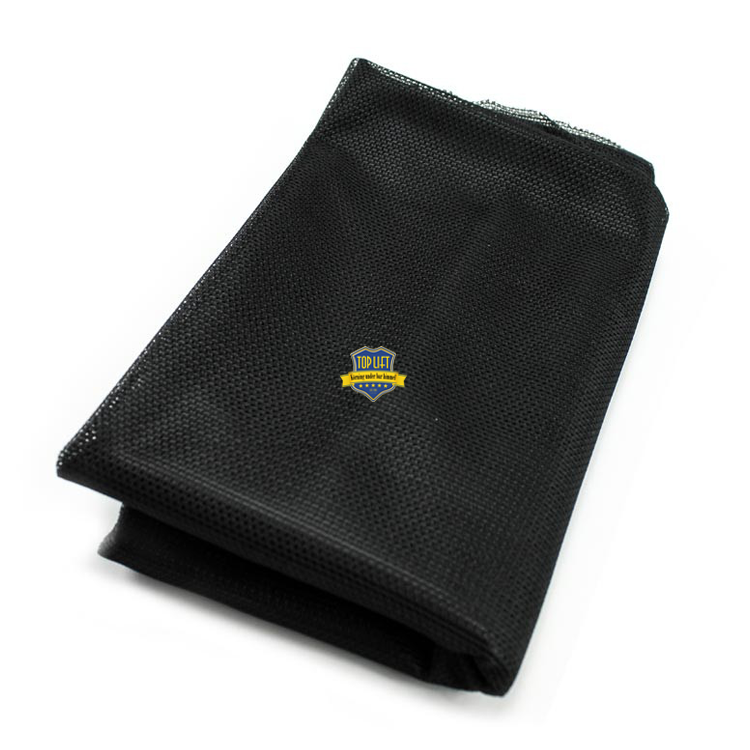
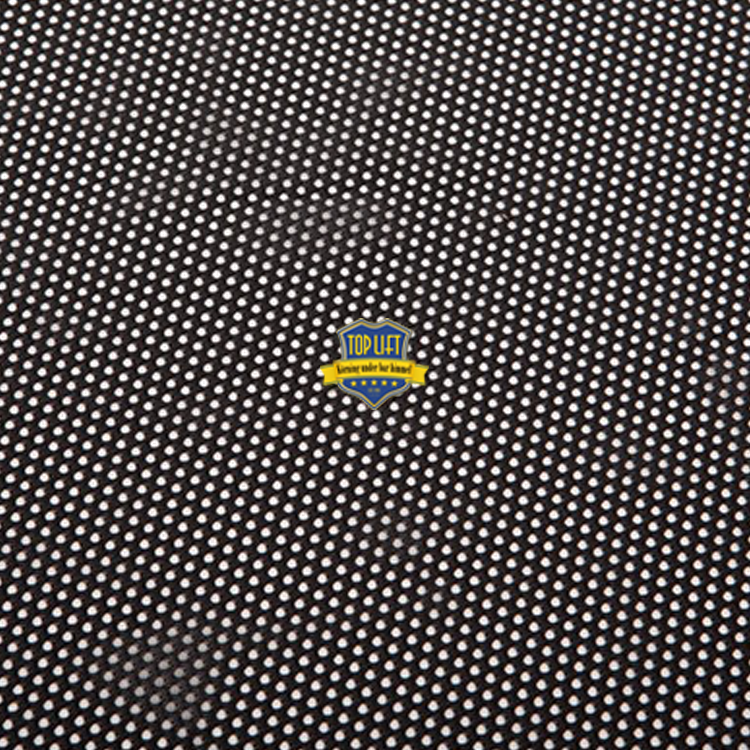
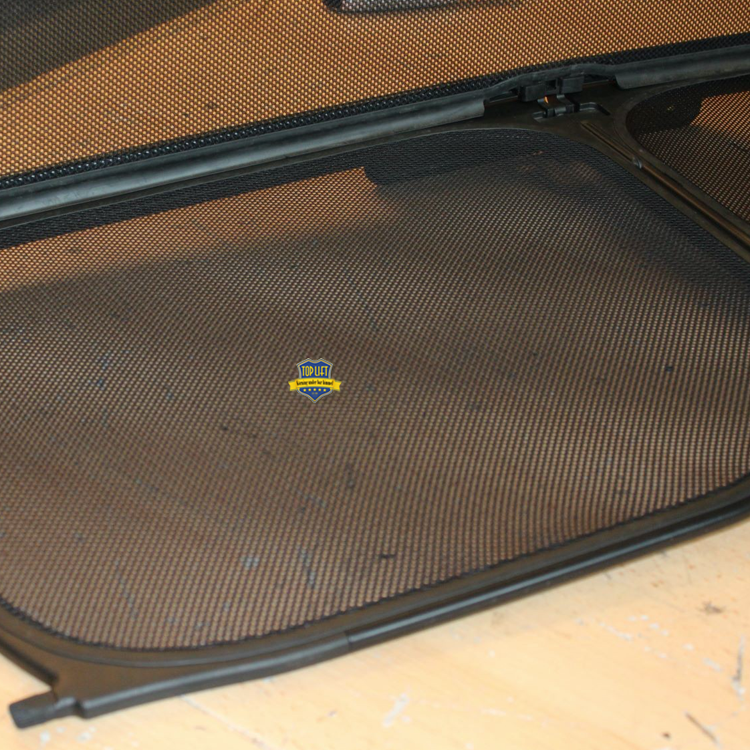

Wind deflector net for do it your self usage. Perhaps you have a damage, tear or other issue with your wind deflector, and if you only had a little spare net available could fix yourself?
Normally we have this new wind deflector net in stock. They are approx 200 cm x 160 cm. Only available in black colour. If you have an original wind deflector, where it is possible to open the rubber list holding the net down, then it should be possible to replace using this net.
Do not miss the quite informative (10 minutes) video below showing a change of net of an original wind deflector. Click the grey tab below “Video” to get to the video.
Normal delivery time: We normally have this net in stock.
55.00 €
Wind deflector repair net, can be used to repair or replace broken net on your original wind deflector…
| Weight | 1 kg |
|---|---|
| Dimensions | 90 × 90 × 1 cm |
Replacing a worn or damaged wind deflector net is an easy and cost-effective way to restore the appearance and functionality of your original wind deflector. In this video, we demonstrate how to replace the mesh using a Toplift replacement wind deflector net while reusing the original frame. You’ll learn how to remove the rubber seal, use the old mesh as a template, trim and tension the new net correctly, and reinstall everything for a professional-looking result. The guide also includes practical tips to make the installation easier and achieve the best possible fit with only a few basic hand tools.
Welcome. My name is Peter, and I work at Toplift.
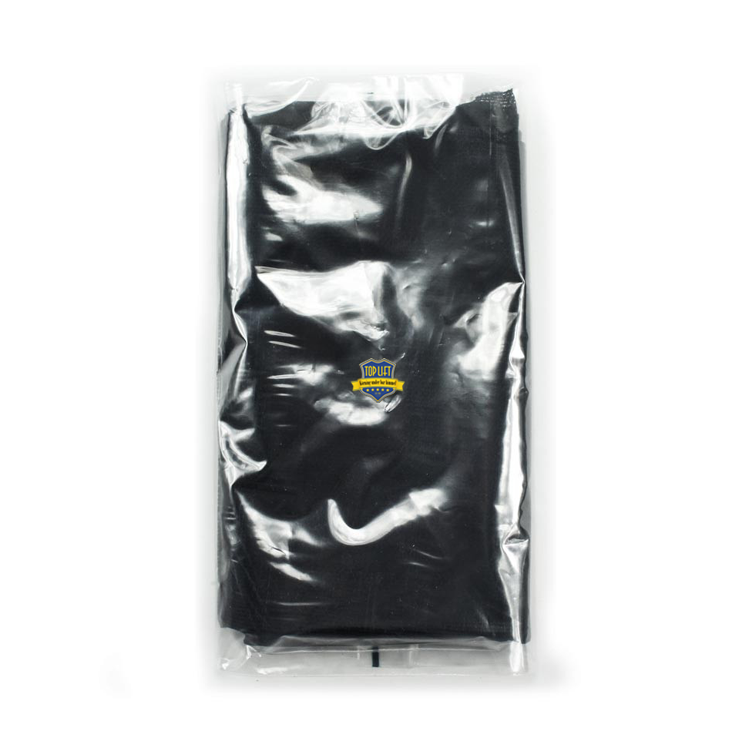
Today I’m going to show you how to replace the net in an original wind deflector. When you purchase a replacement net from Toplift, it comes neatly packed in a bag together with detailed printed instructions that guide you through the installation step by step.
This method is intended for original wind deflectors where the rubber seal can be removed, allowing the old net to be replaced. Let’s get started.
First, use a flat-head screwdriver to carefully lift the rubber seal. The easiest way is usually to work underneath the edge of the rubber and gently loosen it. Continue all the way around until the entire seal has been removed.
Once the rubber seal is off, the old wind deflector net can be removed from the frame.
Now take the new replacement net and lay it flat. Place the original net on top of the new one and use it as a template. This provides a good starting point when cutting the new mesh. Leave a generous margin around the edges—you can trim it more accurately later.
After making the first rough cut, position the new net inside the frame and temporarily press the rubber seal back into place by hand. At this stage, it doesn’t have to be perfect. The purpose is simply to hold the net securely while making the final adjustments.
Next, use a very sharp knife to carefully trim the excess material by following the edge of the frame as closely as possible. The tighter the net is held in place, the easier it is to achieve a clean and accurate cut.
Once you’ve trimmed all the way around, check the tension of the new wind deflector net. If there are any loose areas, gently lift the rubber seal, pull the net slightly tighter, and press the seal back into place. Repeat this wherever necessary until the net feels evenly tensioned.
When you’re satisfied with the fit, trim away any remaining excess material and press the rubber seal fully into position.
The final step is to use a rubber mallet to gently tap the rubber seal all the way down into the frame, ensuring that it is fully seated around the entire wind deflector.
The first section is now complete.
On this particular Renault wind deflector, the lower sections are covered by a plastic trim that must first be removed using the Torx screws. Once the trim has been removed, the installation procedure is exactly the same as before.
Remove the rubber seal, use the original mesh as a template, cut a rough shape with extra material around the edges, install the new net, tension it properly, trim the excess material, and finally press the rubber seal completely into place.
While installing the second section, I noticed a few things that are worth mentioning.
First, it’s best to tension the net as much as possible before pressing the rubber seal into place. If the net is already tight from the beginning, you’ll avoid having to make adjustments later.
Secondly, if the rubber seal has been in place for many years, it may have expanded slightly. If necessary, trim just one or two millimetres from the end of the rubber seal so it fits neatly back into the frame. Only remove as much material as needed.
Another useful tip is to leave approximately 6–7 centimetres of extra material around the new net during the initial rough cut. The extra material makes the net much easier to hold while you’re making the final trimming around the frame.
Once everything has been fitted and trimmed, all three sections of the wind deflector are complete.
The entire replacement took approximately one and a half to two hours, including the time needed to film this video. The job doesn’t require any special skills—just a few basic hand tools and a replacement wind deflector net from Toplift.
If you’d like to restore your original wind deflector, simply visit the Toplift web shop and order the correct replacement net for your vehicle.
Thanks for watching, and see you next time.






Kristian Petersson –
Just excellent, great description and manual, very easy to install.